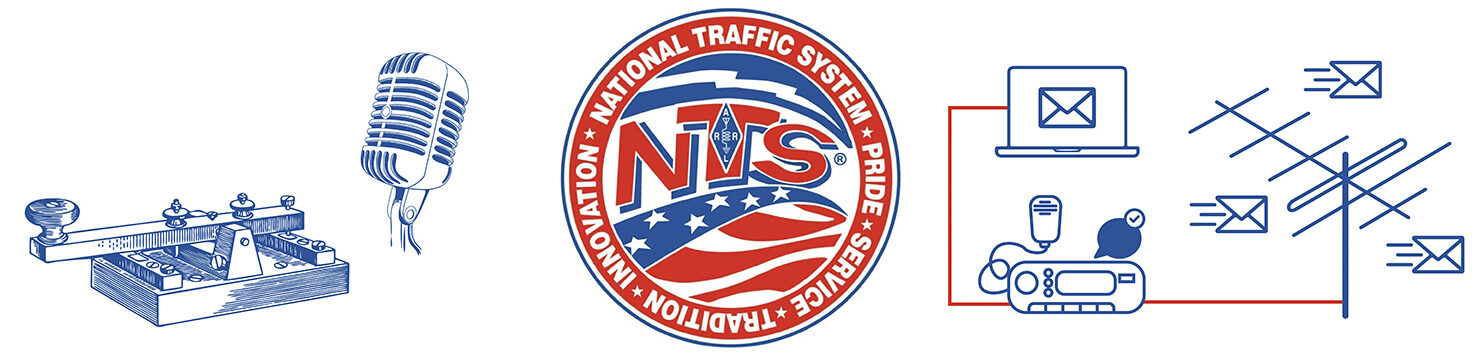

QTC is an application that helps Amateur Radio operators manage, organize, and analyze formal message traffic (Radiograms). If you are active in handling formal message traffic, such as through NTS or RRI, you might find that QTC is a useful tool for managing the messages you originate, relay, or deliver.
Getting Started
Point your web browser (on any platform) to the https://nts2.arrl.org/qtc page. Create a bookmark for this page in your web browser.
If you’re not already logged in to NTS2, you’ll be prompted for your login name and password. If you’ve never logged in to the NTS2 web site, you’ll have the opportunity to register (and choose a password). Your callsign will be used as your login name.
Click the Home button to access the message entry options.
Working with Messages and Views
If you are receiving a message, either for relay or delivery, click Receive. Type the incoming message (using either the Radiogram or the Direct Entry view). If you will be relaying the message, click Send after it’s been entered.
If you are creating a brand new message, click Originate if the person in the signature will be someone other than you; if you are drafting your own message, click Send instead. In either case, QTC will fill out the preamble automatically, incrementing the message number. If you are using Send, you can fill out the message without a signature; click the Validate button (green check mark), and QTC will insert your standard signature.
You can choose among three different message views, using the tabs along the top: Direct Entry, Radiogram, and Both. The Direct Entry box lets you type a Radiogram as a single text document, exactly as received. As you type, QTC parses the various components of the message. Alternatively, the Radiogram view shows a traditional Radiogram form with fillable fields; you can use the Tab key to move from one field to the next. Or, choose the Both view to see both views at once; they stay in sync with each other as you type.
If you are typing a message into the Direct Entry panel, add a “BT” line after the address, and another “BT” line after the text (before the signature). If you are including an op-note in the address, put it on the last line of the address and begin the line with the word “OPNOTE”. You can also put an op-note on the line after the signature in the same way.
When typing the preamble, the HX and Time Filed fields are optional; all other fields are required. A valid message must also have at least one address line (the name), at least one word of text, and a signature. If the addressee is a ham, please take advantage of the auto-address feature (see below) to fill out a complete address.
QTC also supports the DTN (Digital Traffic Network) format. If you are on the Direct Entry panel, tick the DTN Format checkbox to see the message as fully formatted for transmission on DTN. You can also paste an incoming DTN message into the Direct Entry box, and QTC will auto-detect the DTN headers.
Convenience Features
Each time you click Validate, the message addressee’s details are saved in your personal Address Book. This makes it easy to send another message to the same recipient in the future. If the last word of the addressee’s name is a callsign, the address will be saved under the callsign; otherwise, it’s saved under the addressee’s full name.
Retrieval from your Address Book is automatic. If you are creating a new message and the addressee is a licensed ham, you can type the addressee’s callsign on the first line of the address. Press Tab (or Enter, if on Direct Entry), and the system will fill in the rest of the address details, either from your Address Book, or if not found there, from the FCC/IC database retrieved via QRZ.com (including the e-mail address, if one had been provided on QRZ). For a non-ham addressee who’s already in your Address Book, type the full name. You can also view, edit, or add new entries to your Address Book by clicking the Address Book icon at the top.
When you finish typing the text of the message, QTC will automatically replace punctuation characters with equivalent words to make the message conform to Radiogram rules. For example, “Hi Joe! What’s new? Give me a call, 73” becomes “HI JOE EXCLAMATION WHATS NEW QUERY GIVE ME A CALL X 73”. (If you are in Receive mode, the fix-ups aren’t automatic, but you’ll be prompted for them when you click the Validate button.)
If you click Validate (the green check mark), QTC will calculate and populate the Check automatically if you are in Originate or Send mode. If you are in Receive mode, Validate will cause QTC to calculate the check, compare it to the check as already entered, and alert you if there is a discrepancy. Validate will also automatically re-format items such as e-mail addresses and phone numbers, and remove any punctuation found in the address or preamble (other than the slant bar /). Note that the calculated check will be prefixed with “ARL” if there is at least one ARL numbered message mentioned in the text.
When you are in Deliver mode, there’s a link near the bottom which lets you transfer the entire message seamlessly to the Send a Postcard application. This provides a quick and easy way to generate a hard-copy Radiogram postcard which will be mailed to the addressee.
Copy and Paste icon buttons appear at the upper right when you’re working with a message. You can choose Copy to capture the plain-text version of the current message, so that it can be pasted into another application. If the DTN Format checkbox had been ticked, the copied text will include the DTN headers.
Message Workflows
Messages are automatically saved, within 15 seconds of the most recent change, or immediately when you click Validate. However, a message will not be saved if it’s missing a number, station-of-origin, or addressee’s name.
Once a message has been saved, it will appear in your list of messages when you choose Browse. Hover your mouse over any of the messages in the Browse list to see the full message text and signature. You can either View or Delete any of your saved messages from here.
While you’re in Browse, you can choose from a list of filters in the drop-down at the top. Choose All Messages to see the full list. If you choose Relayed, you’ll see each message that you had Received and then subsequently Sent. Choose Traffic List to see all messages which haven’t yet been Sent or Delivered, except for messages which had been addressed directly to you. Traffic List is a quick and convenient way to see just the messages you’re still working with.
Be sure to fill out the Received-From and Sent-To (or Delivered) items at the bottom, when you have sent, received, or delivered a message. The dates and times default to the current date and time, but you can change them. The callsign field is a drop-down where you can either choose a recently-entered callsign, or enter a new one. The “Via” field shows generic options such as Direct and DTN, as well as full list of known NTS nets. If you had chosen Deliver, the Delivered line appears; choose the date and time of delivery (or non-delivery), and the method of delivery. (Keep in mind that a Delivery must be accomplished by contacting the addressee by some method NOT over-the-air; if you contact the addressee over the air, it’s a Send and not a Delivery.)
Many of the messages you’ll be handling will be a relay — a Receive followed by a Send. For this workflow, click Receive to type the incoming message, making sure to fill out the Received-From information at the bottom. Then, click Send when you’re transmitting the message to the next station, and fill out the Sent-To information at the bottom.
If you are receiving more than one message from the same station in sequence, click the New Message button after each one; QTC will save the current message, and clear all fields except for the Received-From callsign, which stays the same unless you change it.
Standard Text
QTC supports a Standard Text capability, similar to the one found in Ready to Copy. Standard texts are Radiogram templates which you can create if you expect to be sending the same basic message more than once, either to the same recipient or to different recipients. Click the Standard Text button to see your list of standard texts. You can edit an existing template, create a new one, or use one of your templates to start a new Radiogram.
When you create a new template, it’s best to make it a complete Radiogram, although you can leave the addressee blank. You can use the placeholders #N, #C, #T, and #D to represent the message number, check, time filed, and date in the preamble; QTC will fill these in each time you use the template to start a new message.
Reports
Click the Reports button in the toolbar to see message-handling statistics. There are three reports to choose from. Summary by Month shows counts of messages originated, received, sent, and delivered for each month. Summary by Via gives message counts, for any given month, organized by how they were sent or received. For example, if you had participated in the Ohio Single Sideband Net and the Eighth Region Net this month, you would see how many messages you sent or received on each of those. Summary by Callsign is similar, except that it’s organized by the callsign of each station you’ve sent to and/or received from.
Printing
When you invoke your browser’s Print function, QTC will compose a printable version of the particular function you’ve currently selected. If you are viewing a message, the printed page will either be a text-only rendering or a Radiogram rendering of the message, depending on which option you had chosen in the Configuration dialog. You can also print your Browse or Standard Text lists when viewing them.
Other Functions
The Configuration can be set by clicking the “gear” icon on the toolbar. Here you can set your next message number, your standard signature, your place of origin, and your preferred message and print views. Your standard signature defaults to your first and last name followed by your callsign; your place of origin defaults to the city and state/province from your FCC/IC mailing address.
The up-arrow button on the toolbar is the Import from RTC function. If you had been using the Ready to Copy software, you can import your messages, address book, and standard texts from RTC into QTC. You can do this more than once to “refresh” the QTC database if you had continued to use RTC after the first Import. However, you cannot transfer in the other direction (from QTC to RTC).
If you are viewing a message which contains references to one or more ARRL Numbered Radiograms, a checkbox will appear above the message which lets you view the plain-text version of the message. (This doesn’t change the message, just the way it appears on-screen). Un-tick this box to return to message editing.
Running QTC
QTC is a browser-based app which should run smoothly on modern versions of Chrome, Edge, Safari, and Firefox, on any desktop operating system which supports them. It maintains its own local database of messages and other data, which is stored on your machine, and is also synchronized with a copy of the same data in the cloud. This means that you can log in to QTC from any browser anywhere in the world and have access to all of your QTC data. The app also works off-line; if you had run QTC at least once from the same web browser, you can use most of its functions even when the browser is disconnected from the internet. If you make any changes when off-line, the app will synchronize them with the cloud (in both directions) when you go back online again.
If you manage messages for more than one callsign, such as your own call plus a club station’s call, please create a new NTS2 login for each such callsign; QTC will maintain separate databases for each such call, even on the same browser. To switch from one callsign to the other, log off and then log in again. The headline on the QTC page always reminds you which callsign is currently active.
Join the Discussion!
FAQs
Q: The message text is all on one line ⎯ shouldn’t it be split up into five words per line?
A: Five-words-per-line is a handy technique to make it easier to count words to confirm the Check. But since QTC calculates (or verifies) the Check automatically, there’s no real benefit to formatting the text this way.
Q: I’ve typed the preamble, but QTC isn’t filling out the Radiogram fields correctly. What’s wrong?
A: Be sure you are including each of the required items: number, precedence, station-of-origin, check, place-of-origin, and date. Each should be separated by a space. Avoid any punctuation. The date must be in the form MMM d (like FEB 7), and the time (if included) must be four digits, plus an optional “Z”. Remember to always use UTC times and dates!
Q: What happens if my browser suddenly becomes disconnected from the internet?
A: QTC is designed to work either on-line or off-line. As long as you’ve used the app at least once on this browser, the app and its data remain stored on your machine, and it continues to run, except for the “lookup” features. QTC will sync with the cloud once again when you re-connect.
Q: Can I run QTC on a mobile device, such as a smartphone?
A: There’s no technical reason why you can’t run QTC on a small screen, but it might be very awkward, since the app’s layout is designed for a desktop experience.
Q: The text is rather small. Is there any way to make it bigger?
A: A quick way to enlarge all of the items on the screen is to use the Zoom setting on your browser. With Chrome or Edge on Windows, for example, you can hit Ctrl + Plus to magnify the entire screen. Or, you can hold Ctrl and scroll the mouse wheel up or down.